
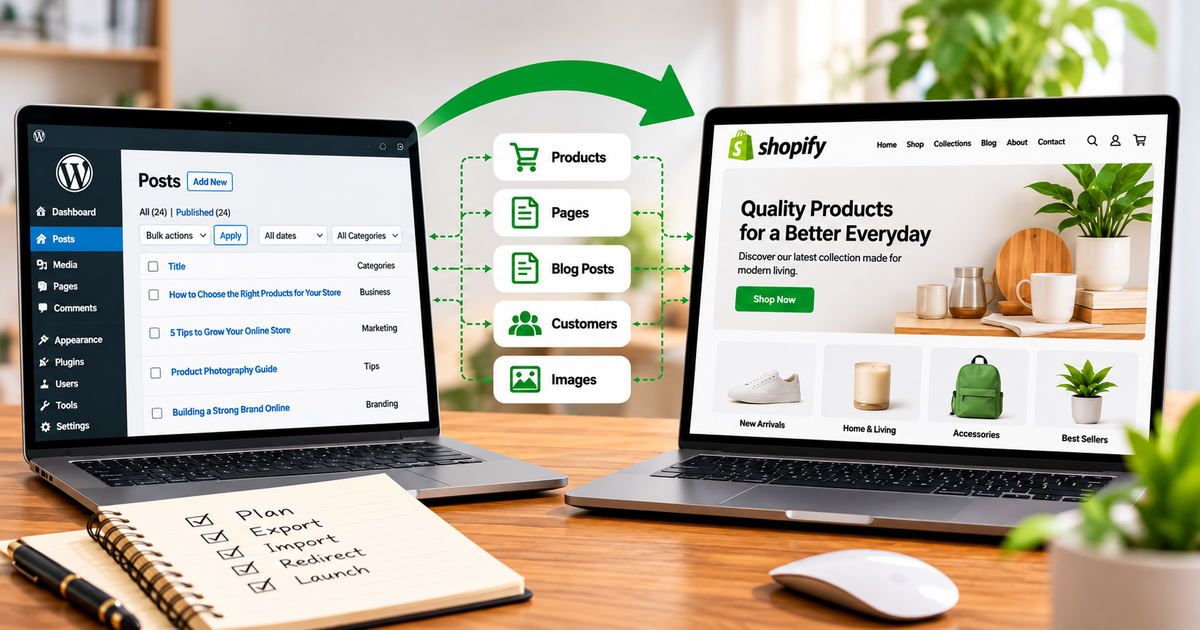
Yes, you can move a WordPress site to Shopify. Your products, pages and blog posts can all come across. What does not come across is the look of the site and the plugins behind it. You rebuild those with a Shopify theme and apps. Shopify's own migration guide tells you to choose a transfer method for each type of content, because a few pages and a large catalog need different tools.
This guide sorts everything into three groups: what moves, what you rebuild, and what you redirect. It ends with a plain look at when to do it yourself and when to ask for help.
Key takeaways
- Yes, you can move a WordPress site to Shopify. Content moves, but the design and plugin features are rebuilt.
- Shopify suggests choosing a transfer method for each type of content: copy and paste for a few pages, a CSV for products, and an app or service for larger jobs.
- Set up 301 redirects from old URLs to new ones before you transfer your domain.
- Shopify only redirects from addresses that show a 404 on your store. If a page already exists at the old address, the redirect will not work.
- Test the store with real checkout steps before launch, then submit your sitemap to Google Search Console.
First, what kind of WordPress site do you have?
The steps depend on what you are moving.
- A business or brochure site. A few pages, maybe a blog, a contact form. This is the simplest move.
- A site with a blog. The posts, their images and their web addresses matter for search traffic.
- A WordPress store, usually WooCommerce. Products, customers and orders add work. Many migration guides online are written for this case.
Write down which one you have. It decides how much you need to plan.
What moves, what you rebuild, and what you redirect
| What it covers | How it is handled | |
|---|---|---|
| Moves | Products, pages, blog posts, images, and customer data if you have it | Exported from WordPress, then imported or copied into Shopify |
| Rebuilt | Design, menus, forms, SEO and marketing plugins | Set up again with a Shopify theme, the theme editor and apps |
| Redirected | Every old page and post address that will change | Mapped to its new address with 301 redirects |
Your theme and plugins do not transfer. A WordPress theme is built for WordPress, and a plugin only works there. Make a list of each plugin you use and what it does for you, such as forms, reviews or search tools. Then look for the Shopify feature or app that does the same job.
Step 1: Take stock of your site
Before you touch anything, list what you have:
- Every page and blog post, with its web address (URL)
- Your products, if any, with prices, photos and descriptions
- Your plugins and what each one does
- Your top pages in Google Search Console, so you know which URLs matter most
- The domain name and where it is registered
The URL list matters most. You will use it to build your redirects in step 6.
Step 2: Back up WordPress
Export your content and keep a full backup of the site and its database before you change anything. Keep the old site running until the new one is tested and live.
Step 3: Set up your Shopify store
Create the store, choose a plan, and pick a theme. Then add the basics: business details, payments, shipping and taxes. If you want a walkthrough, read our guide on how to set up a Shopify store. You can keep the new store private while you work on it.
Step 4: Move your products
Products are the easiest content to move. Shopify imports products from a CSV file. According to Shopify's import guide:
- The file must follow Shopify's product CSV format, and the column headers must match the sample file exactly.
- The file can be no larger than 15 MB. If you get an error or a timeout, split it into smaller files.
- Save the file with UTF-8 encoding, or characters may come out garbled.
- Export your current product data first, because an import cannot be canceled once it starts.
- Do not sort the spreadsheet in Excel or Numbers after you add image links, since sorting can break them.
Shopify also suggests importing products first, then customers, then past orders, so the records connect correctly. After the import, check prices, weights, inventory and that each product is published.
Step 5: Move your pages and blog posts
For a handful of pages, copy and paste is often the fastest route: create each page in Shopify and paste in the text and images. For many posts, a migration app or a service can do the bulk work. One agency guide notes that blog posts and pages move through an app or the API, not through a CSV file, so plan for that. Whichever way you go, check that images came across and that links between your own pages point to the new addresses.
Set up the blog in Shopify too, so that old posts have a place to land.
Step 6: Redirect your old URLs
This step protects the search traffic your old pages earned. A redirect sends anyone who visits an old address to the matching new one. Shopify's redirect guide explains how:
- In the Shopify admin, go to Content, then Menus, then View URL Redirects.
- Click Create URL redirect.
- Enter the old address in Redirect from and the new one in Redirect to.
- For many pages, use Import to upload a CSV of redirects.
A few rules to know:
- A redirect only works from an address that shows a 404 on your Shopify store. If a page already exists at that address, the redirect will not work.
- Some addresses cannot be redirected, such as fixed Shopify paths and those that start with restricted prefixes like /cart or /apps.
- Addresses with query strings may not work.
- A standard store can hold up to 100,000 redirects.
Shopify says to set up redirects before you transfer your domain, so visitors never land on a dead page.
Step 7: Rebuild the design and replace plugins
Set up your menus, homepage and page layouts in the theme editor. Then go through your plugin list and match each one to a Shopify feature or app. Keep the page titles and meta descriptions you had before for pages that bring in traffic, so search engines see the same message on the new page.
Step 8: Test before you switch
Shopify suggests test orders that cover successful and failed payments, refunds and cancellations, and fulfillment, and that you review the emails each action sends. Also click through your top pages on a phone and on a computer, check forms, and open a few redirects to confirm they land in the right place.
Step 9: Connect your domain and launch
Disconnect the domain from your old host first, Shopify says, to avoid SSL certificate errors. Then connect it to Shopify, set it as your primary domain, and make the store public. Do not delete the old site until you have checked the new one.
After launch, submit your sitemap to Google Search Console. Shopify notes that indexing can take days to weeks, so check your key pages and your search traffic in the weeks that follow.
Mistakes to avoid
- Skipping the URL list. Without it you cannot build redirects, and old pages become dead ends.
- Expecting the design to transfer. It does not. Plan time for the theme.
- Forgetting plugin features. A form or review tool that disappears can cost you leads.
- Launching without a test order. Check checkout before real customers do.
- Deleting the old site too early. Keep it until the new site is confirmed working.
Do it yourself or get help?
Doing it yourself is realistic for a small site with a few pages and no store. It gets harder with many blog posts, a large catalog, customer accounts or a lot of search traffic to protect. Several agency guides recommend hiring help for bigger moves, though those guides are written by agencies that sell the service, so weigh that advice accordingly.
How Barry's Software handles a WordPress move
Barry's Software builds Shopify stores for small businesses and also offers migration to Shopify. If you are moving from WordPress, send a quote request with your site address and a note on what you have: pages, blog posts and products. You will get a reply about what the move would involve for your site.
See the Shopify store setup service or ask for a quote.
Get a quoteFrequently asked questions about moving WordPress to Shopify
Can you transfer a WordPress site to Shopify?
Yes. Products, pages and blog posts can be moved. The design and plugin features are rebuilt with a Shopify theme and apps, because a WordPress theme or plugin does not work on Shopify.
Will I lose my Google rankings if I move?
A move carries some risk, which is why redirects matter. Redirect every old address that will change to its new one, keep your page titles and descriptions for pages that bring traffic, and submit your sitemap to Google Search Console after launch. Nobody can promise rankings stay the same.
What cannot be moved from WordPress to Shopify?
Your theme, your design layout and your plugins do not move. Customer passwords may not move either, since 20North's guide says they do not transfer from WooCommerce. Rebuild or replace these in Shopify.
Do I need to set up redirects?
Yes, for any page or post whose address changes. Shopify says to set them up before you transfer your domain, and it lets you import them in bulk from a CSV file.
Can I move my blog posts?
Yes. For a few posts, copy and paste works. For many, a migration app or a service is usually used. One agency guide says blog posts and pages move through an app or the API, not through a CSV file.
How long does a WordPress to Shopify move take?
It depends on how many pages, posts and products you have and on how much you need to rebuild. The sources I read give no reliable standard time, so plan around your content and design, not a fixed number of days.
Should I move it myself or hire someone?
A small site with a few pages is realistic to do yourself. A large blog, a big catalog or heavy search traffic is where help pays off. Read how to hire a Shopify designer before you choose.